Rhubarb and Coconut Chia Pudding

Chia seeds and coconut make a perfect combination for a pudding. The fresh rhubarb we found at the Green City Market inspired this not too sweet dessert.

Very easy to make. Simply plan ahead as it needs resting time.

Ingredients

  • 1/3 cup chia seeds
  • 3/4 cup unsweetened organic coconut flakes “Let’s do…Organics”
  • 7oz unsweetened organic creamed coconut “Let’s do…Organics”
  • 3 stalks rhubarb
  • 1 vanilla bean
  • 2 Tbsp honey
  • Zest of 1/2 organic lemon
  • 2 cups hot water
  • Pinch of salt


Wash and trim the rhubarb stalks so there’s no green leaves. Discard the leaves it any. Cut the stalks in small even sized pieces. 


Cut the vanilla bean in half, and split each half so you can scrape the seeds. 


Place the rhubarb, honey and half a vanilla bean in a heavy saucepan on low heat and cover for about 10 minutes. 


Meanwhile place the creamed coconut in a large bowl. 


Add the hot water and the other half of the vanilla bean.


Whisk thoroughly to combine. 


Add the coconut flakes, salt and chia seeds. Mix well, cover and refrigerate about one hour or so.


Uncover the saucepan with the rhubarb and mix thoroughly with a wooden spoon. Cover and continue to cook on low heat for another ten minutes. 


Transfer to a bowl, add the lemon zest, mix well, cover and refrigerate. 


Remove the bowls from the refrigerator when the chia seeds have set in the coconut mixture. 


Fill small jars by alternating chia/coconut preparation with the cooled rhubarb/honey/lemon mixture.  Enjoy immediately or refrigerate for later tasting. 

Note: the longer you refrigerate the pudding, the  more set it will become. 

Watermelon and Chia Seeds Soup

Watermelon soup is a delicious, refreshing, and easy summer dish requiring very little time to prepare. It can appear on the table in no time. Equally satisfying either as an appetizer or as a dessert.  Here, paired with chia seeds to add texture, lime and ginger for a zing, and some fresh mint or lemon verbena for a variation of flavors. 

  Ingredients:

  • 4 lb / 1 kg 800 g watermelon flesh
  • 6 Tbsp/ 60 g chia seeds
  • 1 1/2 oz / 40 g fresh ginger
  • 2 limes
  • 1/2 oz / 15 g fresh mint or lemon verbena

  Peel and slice the ginger root.   Cut both ends of the limes and stand it upright on a wood board for slicing off the peel. 
Slice the peel off all the way around, being sure to remove the rind.     Quarter each lime. 
  Remove mint (or lemon verbena) leaves from the stems and reserve the nicer looking ones for serving.   Place lime, ginger and mint (or lemon verbena) at the bottom of a standing blender bowl. 
  Cut the watermelon into large pieces and discard the rind.    Add the watermelon to the other ingredients in the blender and process until smooth, in batches if necessary. 
  Pour the watermelon soup into a bowl and add the chia seeds.  Mix well, cover and refrigerate.  Serve chilled with mint or lemon verbena. You might also extra chia seeds on top for the presentation.

Enjoy!

Quince, Honey and Thyme Tart

Quince is a very hard and tart fruit in its raw state, which softens and becomes a delicious treat when cooked and sweetened.  When growing up in the French countryside, we commonly used to make quince jelly and quince paste with this fruit high in pectin. After cooking for a long time, the flesh of the fruit turns a beautiful deep pink color, which is most appealing and appetizing. 

 ​The honey caramilizes the quinces, and the thyme imparts a savory taste balancing the flavors. The longer the baking process, the more beautiful golden vermillion they turn. 

  Ingredients

  • 800 g/1 lb 12 oz quince
  • 60 g/ 2 oz French butter
  • 90 g/ 3 oz raw honey (Mild flavor like acacia)
  • 1 cinnamon stick 
  • 4 cloves
  • A few sprigs thyme

For the crust:

  • 150 g/ 5 1/4 oz all purpose organic in bleached flour
  • 70 g/ 2.5 oz French butter
  • Pinch of sea salt
  • 1-2 Tbsp cold water

Preheat oven to 375F. 

  Start by making the crust. Place the flour, salt and cold butter, cut in small pieces, in a bowl. 
  Using one hand only, gently and briskly mix the butter and flour to coat each piece. Then, press the flour-coated pieces of butter between your fingertips to ‘crumble’ the mixture.   Continue until the mixture resembles a sandy texture.  Then add just enough cold water to form a non sticky ball. 
  Place the dough on wax paper, wrap it and refrigerate it.  Meanwhile, cut the quinces in half, then quarters. Do not peel the quinces at this time as it would be a very difficult task. It is easier to peel them after cooking them.   Cut each quarter in halves to makes eighths. Quince oxidize extremely quickly by contact with air.Place them in a wide-bottom pot, barely cover with cold water, and add the cinnamon stick and cloves.     Bring to a boils and simmer about 30 minutes, until the quinces are tender. Meanwhile, place generous pieces of butter  on the bottom of a 9-inch pie dish as well as around the sides.   Pour the honey over the butter to cover the bottom of the pie dish.   Spread the thyme leaves over the butter and honey. Reserve a couple sprigs of thyme for presentation.   Take the quince out of the boiling liquid into a colander using a skimmer/slotted spoon. Reserve the liquid for another use, such as quince jelly.   Cut out the seedy core.   Peel the quince pieces. By now the skin should come off relatively easily.   Arrange the quince slices in a circle following the shape of the dish.   Take the dought out of the refrigerator and place it on a floured surface.  Using a French rod-style rolling pin, roll out the dough into a circle barely larger than the tart dish.   Roll the crust onto the rolling pin to easily transfer it from the surface to the tart dish. 

  Roll out the crust onto the quinces.   Tuck the edges between the quince slices and the buttered edges of the tart dish. 
  Bake for about 40 minutes. Then turn off the oven and let the tart sit on the rack in the oven for another 15 minutes with the oven door slightly open.   The crust should be lightely golden and crisp to the touch.   Run the blade of a knife around the edges to unstick the caramelized tart from the baking dish. Turn the tart over onto a serving platter.  You might have to carefully rearrange or straighten some of the quince slices. Finish by adding a few leaves of fresh thyme. Serve and enjoy!

Honey Crisp Tarte Tatin

This autumn the honey crisp apples from Michigan have been particular delicious. With their distinctive refreshing crisp and juicy texture and the perfect balance of sweet and tart taste, they are one of our favorite treats of the season.

IMG_2357.JPGAfter enjoying biting many of them for breakfast and afternoon snack, I had to test them for a traditional French dessert: la tarte Tatin. They turned out to be a perfect match. Hoping you enjoy trying them in the recipe below.

IMG_2210.JPGIngredients:
1-1,3 Kg or 2-2.5 lbs organic honey crisp apples
100g or 1/2 cup organic cane sugar
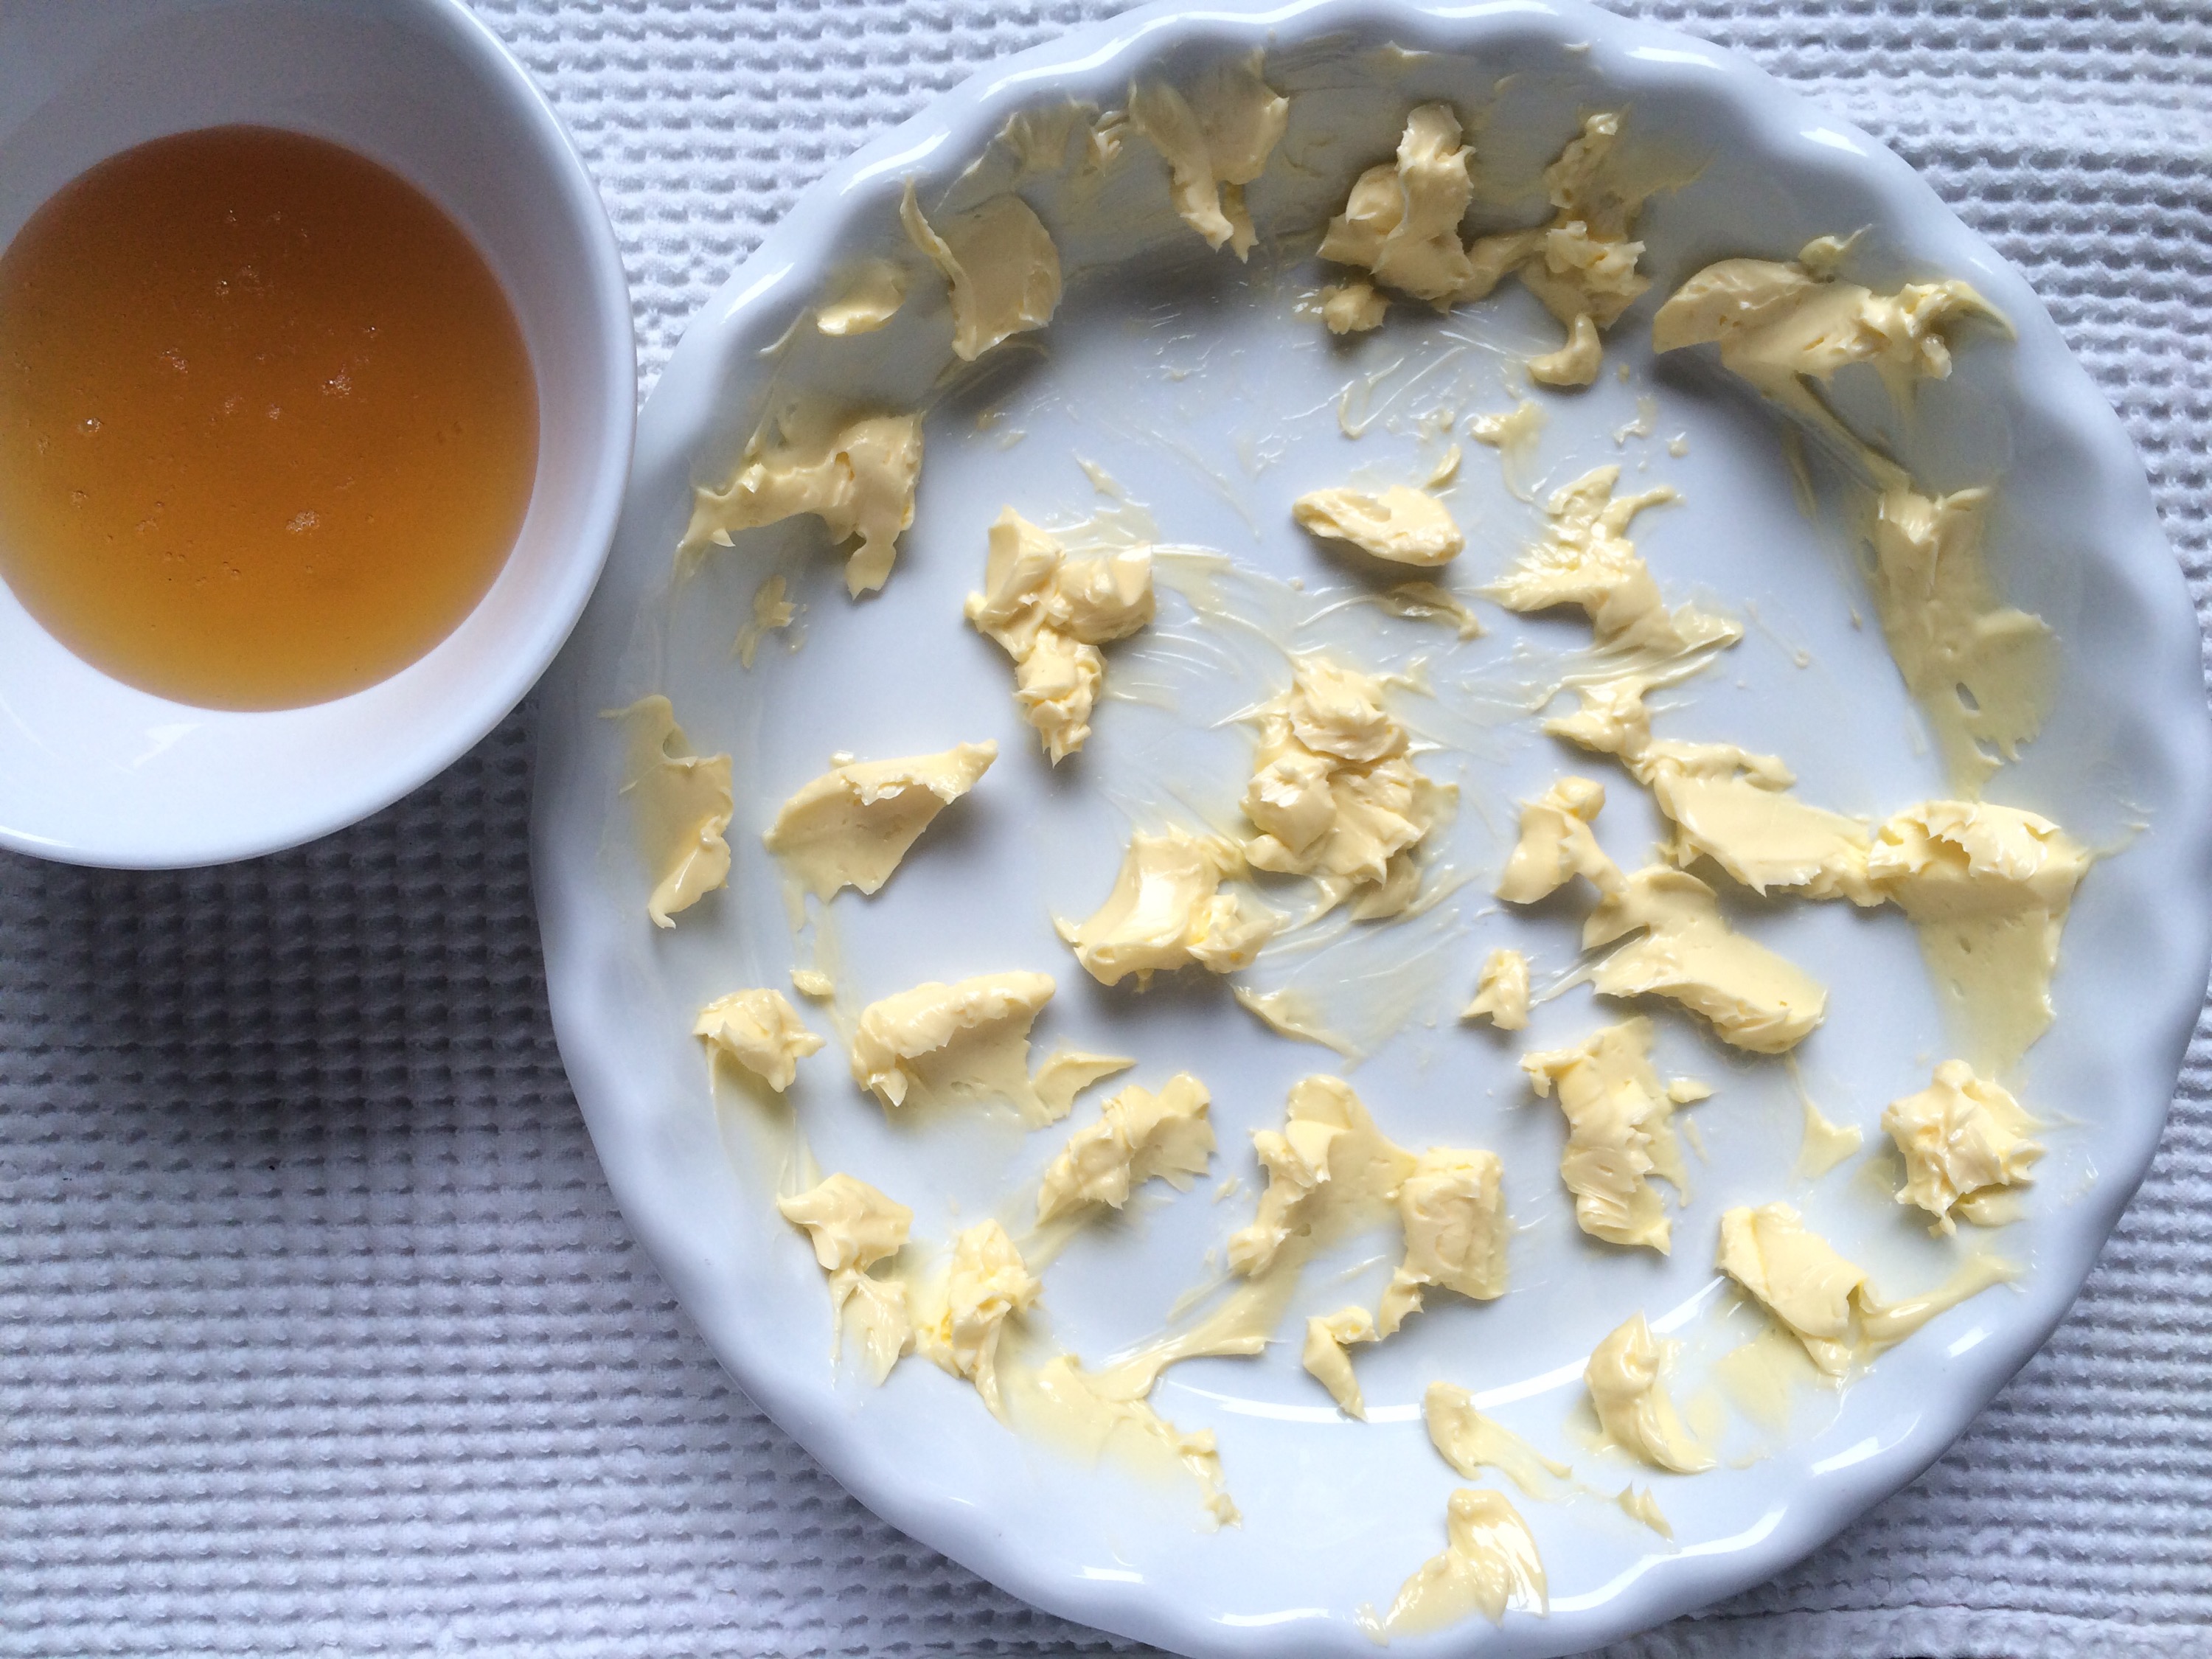
60 g or 4 Tbsp unsalted European butter
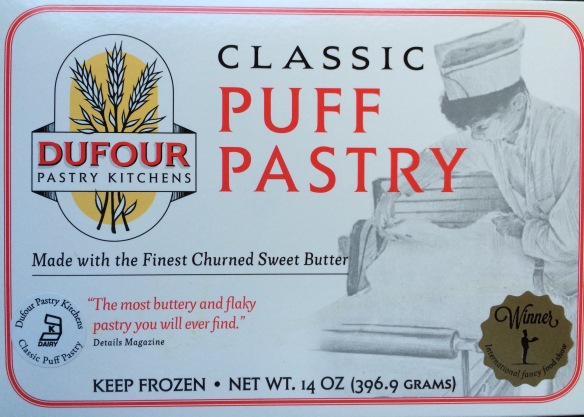
1 sheet of Dufour puff pastry (found in the frozen section at Wholefoods)
Extra flour for dusting.

Preheat oven to 425F

IMG_2237.JPG
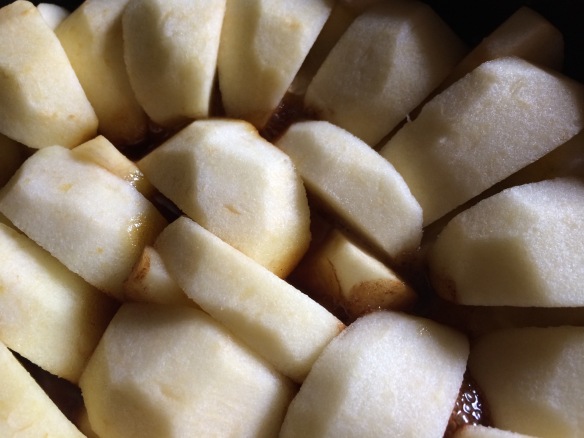
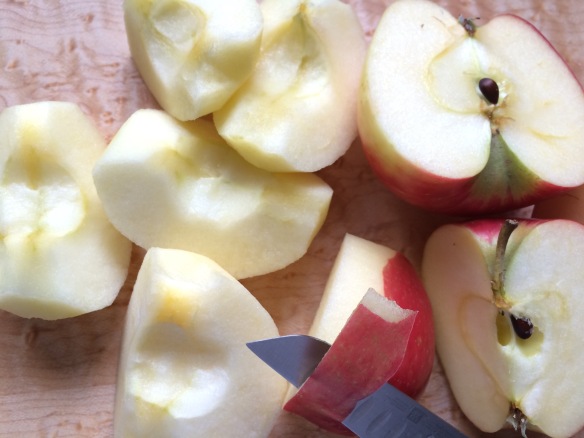
Start by prepping the apples. Cut them in quarters, core them and peel them.

IMG_2240.JPG
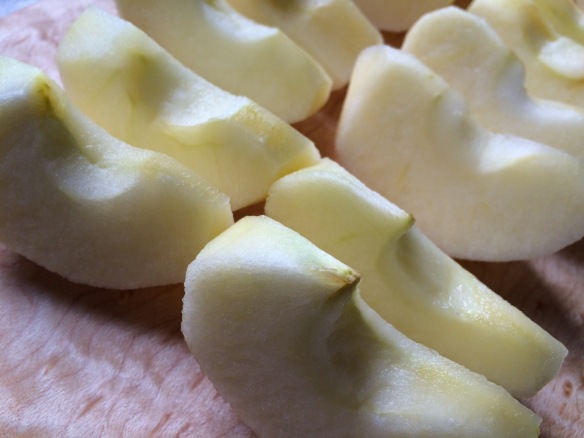
Then cut each quarter in half and set aside.

IMG_2212.JPG
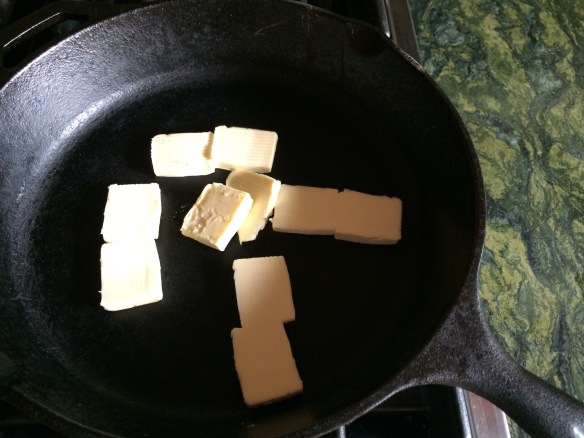
Meanwhile place the butter, cut in small pieces, in a heavy 10″ cast iron pan.

IMG_2215.JPG
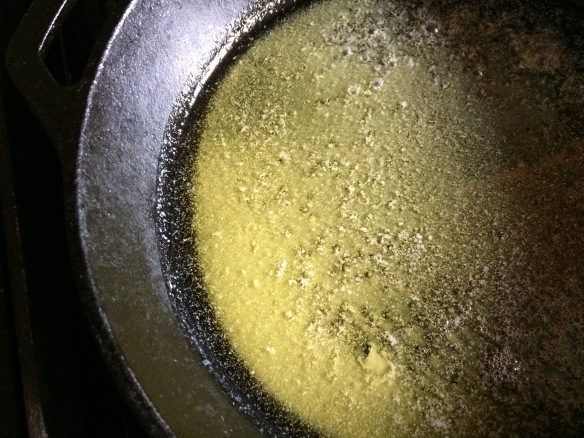
Melt the butter on medium heat.

IMG_2217.JPG
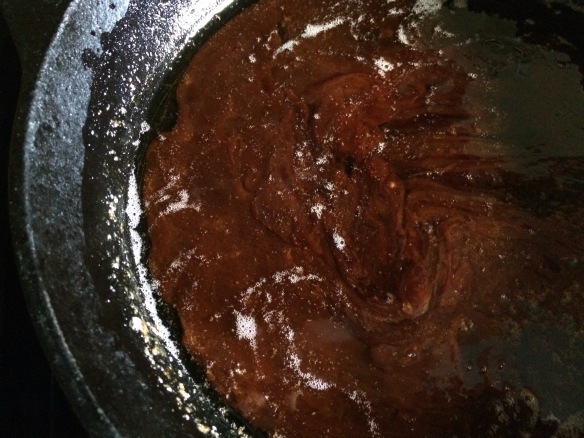
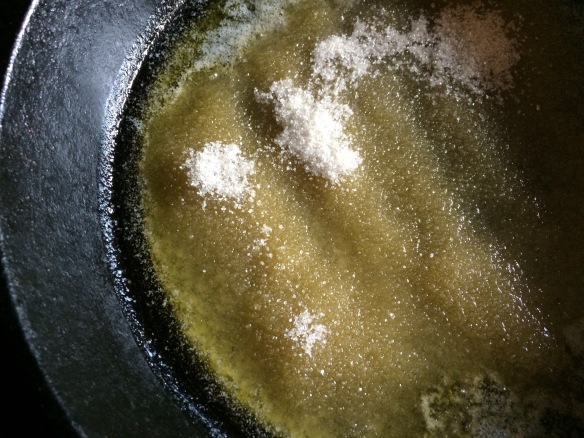
Add the sugar at once to the melted butter.

IMG_2219.JPG
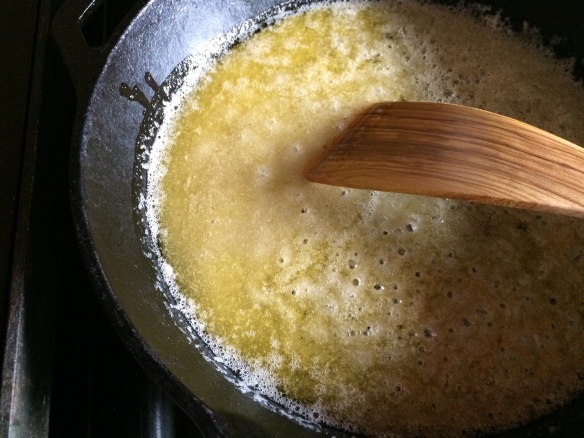
Mix gently with a wooden spatula.

IMG_2235.JPG
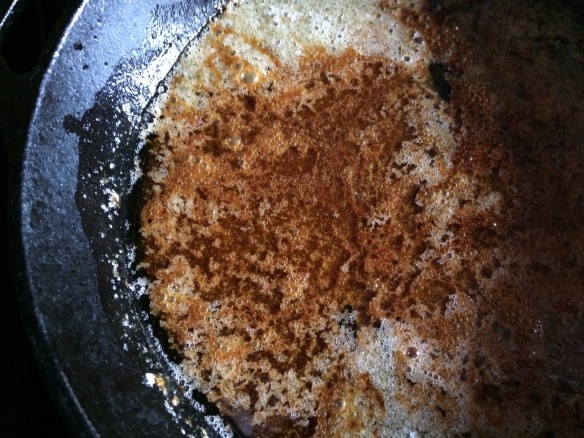
The butter and sugar will start caramelizing. Lower the heat to medium-low.

IMG_2241.JPGContinue cooking until the caramel turns a nice hazelnut brown color.

IMG_2242.JPGCarefully place the apple slices, inner side up, on top of the caramel. Be sure to keep your fingertips well above the burning hot caramel.

IMG_2245.JPG
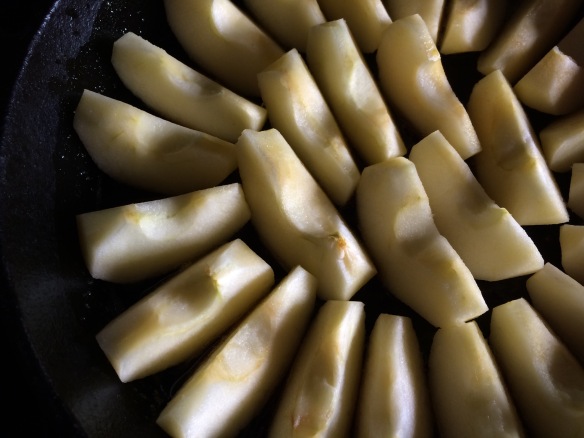
Continue arranging the slices nicely until the bottom of the pan is completely covered.

IMG_2248.JPG
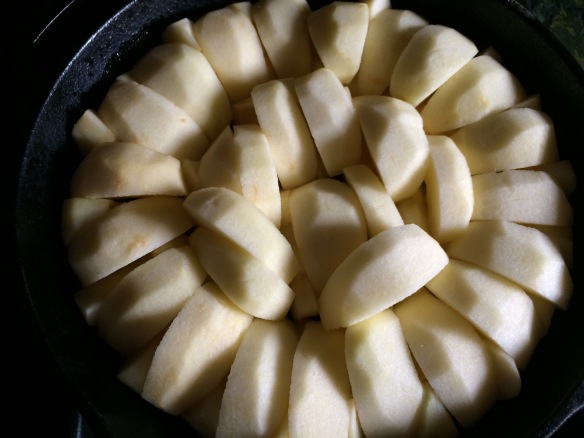
Then fit the remaining slices on top, in between the bottom slices, inner side facing down.

IMG_2261.JPGKeep cooking about 20 minutes, until the apples soften gently and the caramel bubbles through the apples. Turn off the heat and set aside to cool slightly.

IMG_2266.JPGRemove the frozen puff pastry from the refrigerator (I defrost it overnight in the refrigerator)

IMG_2267.JPG
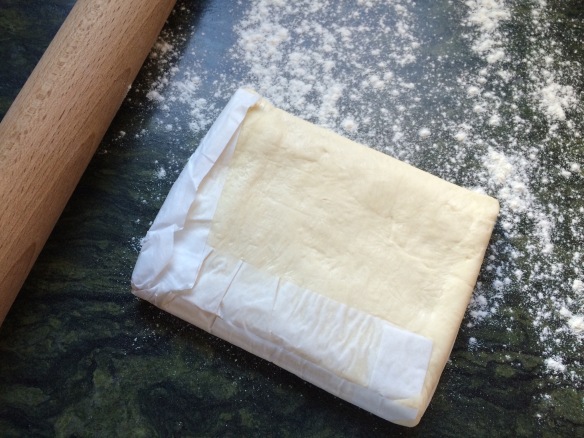
Place it on a flour dusted surface.

IMG_2269.JPGUnfold gently and discard paper, while dusting with flour to prevent stickiness.

IMG_2272.JPG
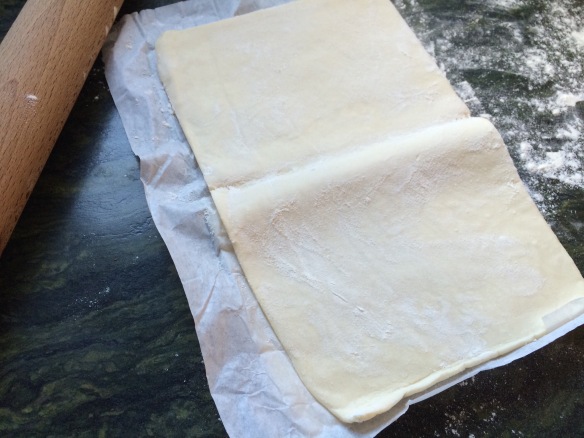
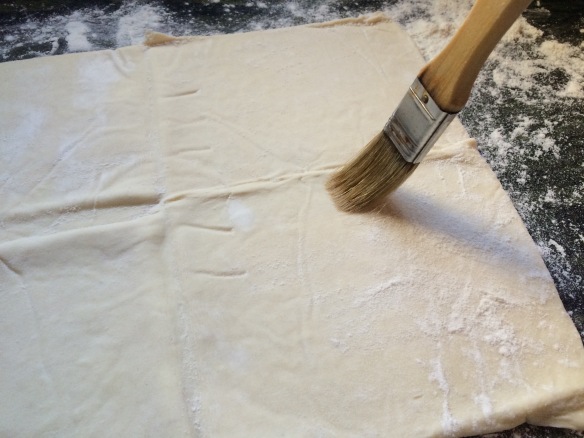
Using light strokes, brush off the excess flour.

IMG_2273.JPG
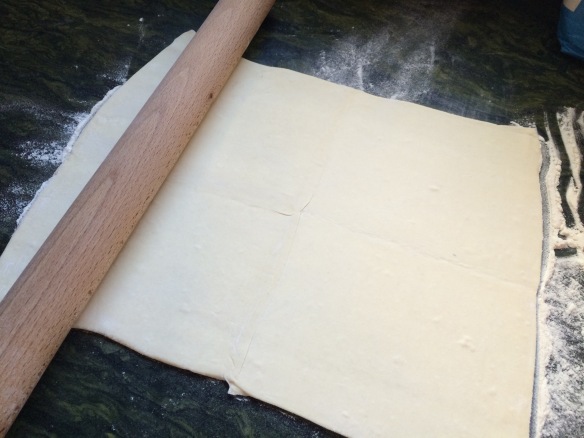
Roll out the dough into a larger rectangle.

IMG_2274.JPG
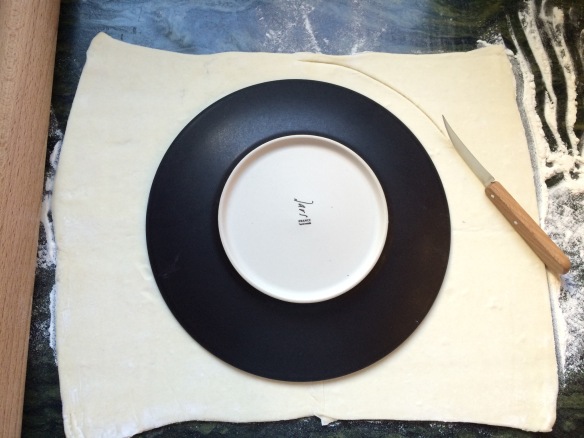
Place a 10″-plate in the center to use as a pattern and cut around.

IMG_2275.JPG
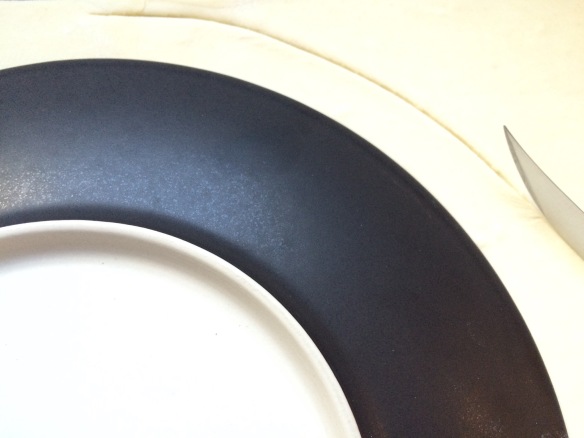
Using a knife, cut 1 to 2 cm around the plate.

IMG_2279.JPG
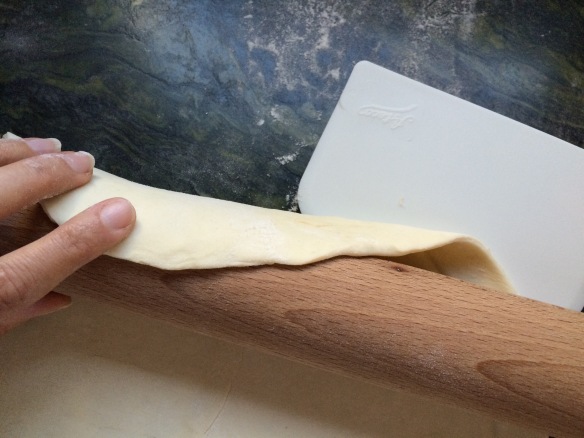
Roll the dough onto the rolling pin. Use a pastry scraper if the dough sticks to the surface.

IMG_2282.JPG
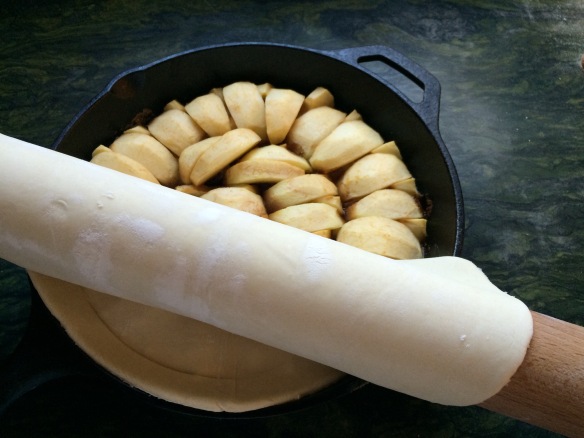
Roll it out over the apples onto the pan. If the pan is too hot, set it aside until it is cool enough to handle.

IMG_2284-0.JPG
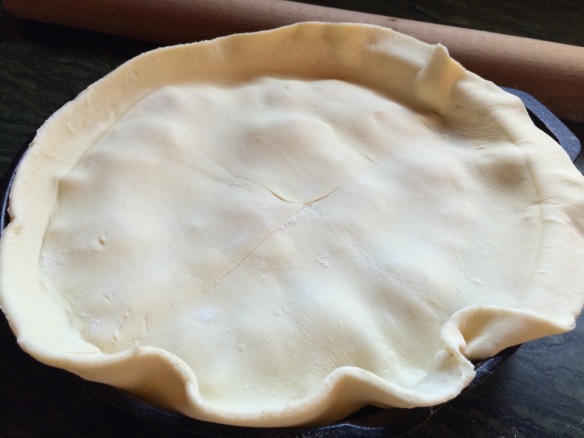
The puff pastry will overhang over the sides of the pan.

IMG_2288.JPG
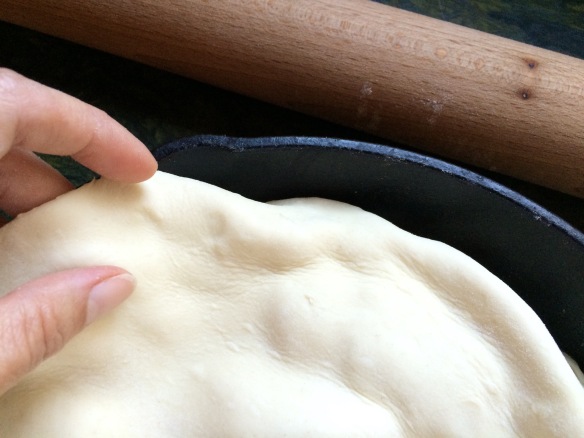
Tuck in the dough between the apples and the sides of the pan by lifting it with one hand on one side….

IMG_2290.JPG
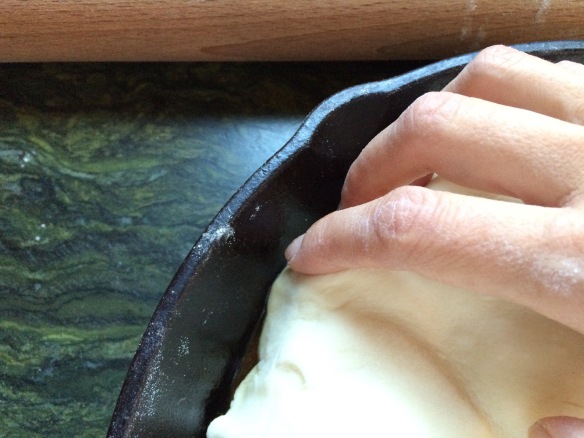
…and tucking it with the other hand.

IMG_2293.JPG
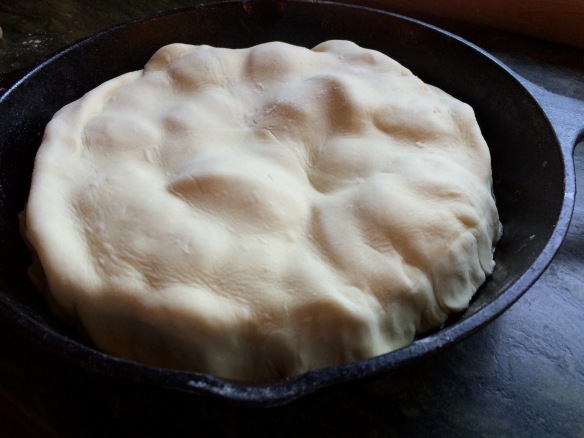
Continue all the way around until the apples are completely covered. Place the pan in the preheated oven and bake for 20-25 minutes.

IMG_2303.JPG
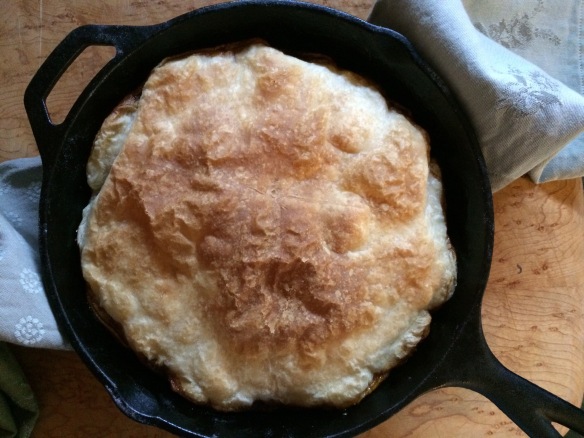
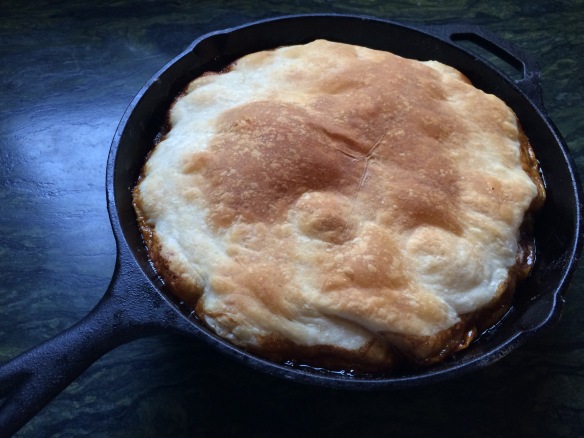
When the top is golden brown, remove the pan from the oven and let it cool about 10 minutes.

IMG_2311.JPGPull a serving dish slightly larger than the 10″ pan.

IMG_2314.JPGPlace the pan on top of a folded kitchen towel so that both ends of the towel overextend on either side of the pan.

IMG_2315.JPGReverse the serving dish so it fits on top of the pan.

IMG_2317.JPG
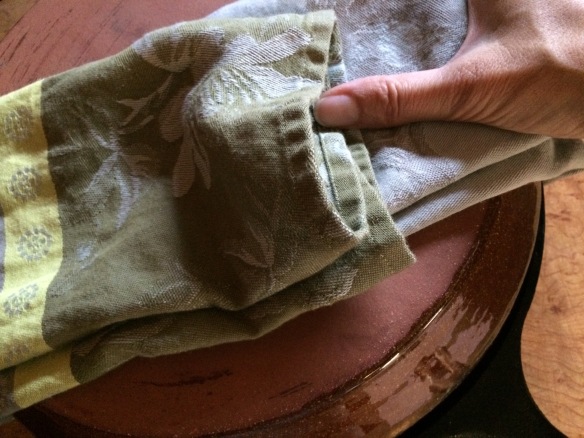
Hold the towel around firmly with both hands.

IMG_2319.JPG
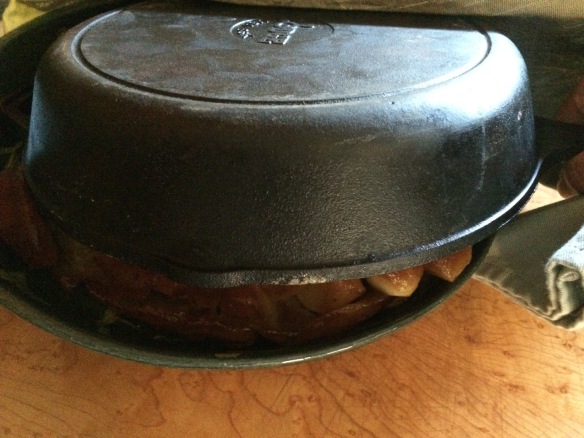
With a firm and rapid movement, flip the pan on top and the serving dish on bottom.

IMG_2326.JPG
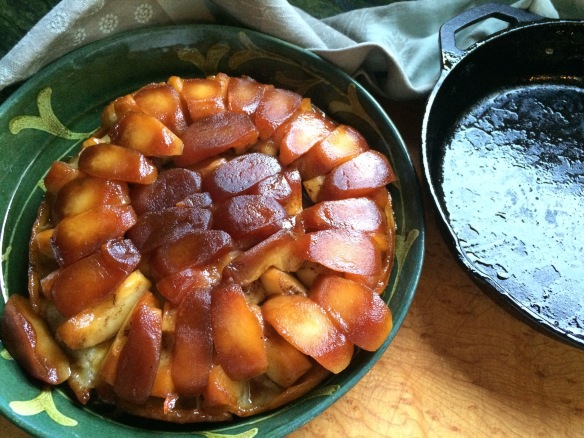
Lift the pan away from the serving dish. Some of the apple pieces will have fallen out of place.

IMG_2338.JPG
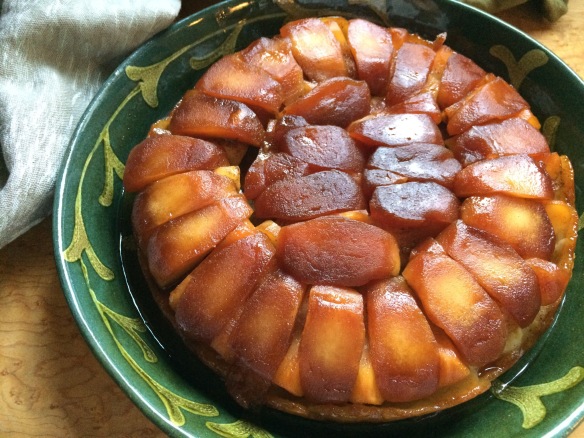
Just set them back where they belong. You can enjoy with ice cream, crème fraiche or whipped cream with a extra drizzle of salted caramel sauce (posted January 11 2014).

Hazelnut Praline Chocolates

Hazelnut praline chocolates are heavenly. A great gift for Valentine’s Day! I had recently made some hazelnut praline flans and had extra caramelized hazelnut praline. So, I decided to simply add some chocolate to make hazelnut praline chocolates. This recipe only made about a dozen, and they were gone in the blink of an eye.  So you may double or even triple the recipe.  Besides, the larger quantity you make, the easier it is to dip/coat the chocolates. And every one will be thankful you made more rather than less.

20140127-172055.jpgTempering chocolate is a very precise technique and it is imperative to follow the instructions.  If the chocolate rises above or cools below the indicated temperatures, you will have to start the whole tempering procedure over from the beginning. The technique described below is for dark chocolate.  The temperatures vary for milk or white chocolate.20140127-172322.jpgIngredients:

2 1/3 oz Caramelized hazelnut praline (see 9/2/13 post: hazelnut praline flan for Leslie)
2/3 oz Dark chocolate (70% minimum)
1 3/4 oz Dark chocolate for coating
Toasted chopped almonds

Equipment: a chocolate thermometer for tempering the chocolate and a chocolate dipping fork.
20140127-172413.jpgMelt the 2/3 oz of dark chocolate gently in a double-boiler.

20140127-172505.jpgWhen the chocolate is completely smooth, remove from the heat and add the caramelized hazelnut praline.

20140127-173559.jpgMix well until fully incorporated.

20140127-173637.jpgShape into small balls with the palm of your hands.  Place on a plate and refrigerate for at least 1 hour to harden.

20140127-173720.jpgChop the 1 3/4 oz chocolate for tempering in preparation of coating/dipping.

20140127-173837.jpgPlace in a double boiler and slowly melt the chocolate for tempering. Tempering is an important step to ensure that the finished chocolates hold their shape, do not smudge, and have a shiny finish.

20140127-173925.jpgMeanwhile, toast the almond in a hot oven for a few minutes. They should be only slightly toasted, not burnt.

20140127-173959.jpgChop the toasted almonds finely and reserve.

20140127-174056.jpgMeanwhile the chocolate temperature should reach 128-130F.  Remove the chocolate from the heat source a degree or two below the desired temperature as the chocolate temperature will keep rising from the heat stored in the saucepan.

Once the chocolate has reach 128-130F, let it cool at ambient temperature (do not refrigerate) till it cools down to 81-82F by stirring constantly with a wooden spoon.  To hasten the process, you may use a large piece of unmelted chocolate to stir instead of a wooden spoon, or slowly add grated chocolate.

Once the temperature reaches 81-82F, place the chocolate back on the double boiler and slowly raise the temperature to 88-89F.

Now your chocolate is tempered and ready for coating/dipping.

20140127-174158.jpgTake the pralines out of the refrigerator. Use the blade of a knife or small icing spatula to coat one layer of chocolate on the bottom (flat side) of the pralines.

20140127-174259.jpgAdd about a tablespoon-full of chopped toasted almonds to the tempered chocolate. Mix well. Keep the temperature at 88-89F by periodically placing the chocolate back on the double boiler.

20140127-174338.jpgUsing a chocolate dipping fork, place the chocolate-layer flat face of the praline on the fork.

20140128-121502.jpgDip in the tempered chocolate and remove excess from the bottom by sliding the blade of a knife underneath.

20140128-121607.jpgPlace on a plate to set, sprinkling a few extra toasted chopped almonds.

20140128-121931.jpgEnjoy!

Baked Apples with Dates, Walnuts, Prunes and Salted Caramel Sauce

A warm winter treat.
Using Salted Caramel Sauce (recipe posted on 1/11/14) as a finishing touch, these apples are stuffed with a simple mixture of dried fruits and walnuts. A perfect balance to enjoy the delicate flavors of the salted caramel sauce.
20140120-143337.jpg
If you do not have salted caramel sauce on hand, or to simply prepare a vegan, lactose-free version, you might add a hint of cinnamon in the dried fruit mixture and serve with a little sprinkle of cinnamon instead of salted caramel sauce.
I like to use a variety of apples, so long as they hold reasonably well after baking: Fuji, Jonathon, Honeycrisp. Some might split, but they remain deliciously tasty. The apples to avoid would be Golden Delicious or Red Delicious, as they have a tendency to become mushy and mealy when baked.
20140120-143416.jpg
Ingredients for 4 guests:
4 apples (honey crisp, Fuji,…)
3 dates
3 prunes
A handful walnuts
4 Tbsp Salted Caramel Sauce (recipe posted on 1/11/14)
Preheat oven to 350F.
20140120-143458.jpg
Slightly cut the bottom of each apple to that they stand straight.
20140120-143545.jpg
They should be relatively even on a flat surface.20140120-143609.jpg
Cut off the top of each apple, about 1/4 of the way down, keeping the stem up. 20140120-143627.jpg
Core the center to remove the seeds and tough center part. 20140120-143644.jpg
Be careful not to go too deeply and leave enough thickness at the bottom.20140120-143703.jpg
Mince the dates and prunes.20140120-143719.jpg
Then, continue chopping them as well as the walnuts and mix.20140120-143736.jpg
Place the apples in an oven-proof dish, add this mixture in the center hole of the apples, press down to pack the cavity, and spread the remaining dried fruit mixture on top.20140120-143754.jpg
Cover each apple with their respective cap. Place them in the preheated oven.20140120-143814.jpg
After an hour, remove from the oven. Set the apples aside, turn off the oven, and place the jar of salted caramel sauce in the still warm oven to melt it slightly. 20140120-143834.jpg
Serve the apples on each plate and spread some warm salted caramel sauce. 20140120-143855.jpgEnjoy!

Salted Caramel Sauce

In rare occasions, indulging in the sweetness of the moment calls for a treat savored delicately. Salted caramel sauce provides that rarified quality, reserved for a special moment, allowing you to truly savor every bite and relish your taste buds.
20140105-035527.jpgSalted caramel sauce can be enjoyed over poached or baked fruits, a tart or pie, ice-cream, or simply drizzled over Chantilly cream.
Making it is very easy, and it keeps for quite a while refrigerated.
20140105-040732.jpg
The essential ingredient is fresh French butter, which tastes smooth and rich.

Ingredients for 1-12 oz jar:
(Multiply the recipe for more jars)

6 oz. sugar
1 Tbsp. water
4 oz. French butter
1/8 tsp. sea salt
3/4 cup heavy whipping cream

Useful tool: wide mouth canning funnel (see photo at bottom of recipe)
20140105-040848.jpgPrepare the jar(s) and utensils in advance of starting to cook the caramel sauce, as you’ll need to pour it into the jar(s) as soon as it is ready.
20140105-041034.jpgBegin by placing the sugar, butter cut into small pieces and sea salt into a saucepan with a heavy bottom or copper pan for even melting.

Add the water to moisten the sugar.
20140105-041139.jpgLet melt on medium heat, mixing with a wooden spoon occasionally.
20140105-041400.jpgThe mixture will foam and rise and might slightly crystalize.
20140105-041528.jpgContinue cooking mixing with a wooden spoon as it starts to caramelize.
20140105-041620.jpgWhen the caramel falls back down and turns a beautiful brown color, turn off the heat.
20140105-041823.jpgAdd the cold cream at once.  Watch out for splatters. The caramel will harden. Continue mixing rapidly.
20140105-041922.jpgPlace back on the stove, on medium heat.
20140105-042035.jpgBring back to a boil and turn off the heat as the caramel mixture rises again.
20140110-191143.jpg
Using a wide mouth canning funnel, poor the hot caramel sauce in the jar(s).
20140105-042155.jpgBe sure to pour the caramel almost to the top as it will shrink while cooling.  Let cool till warm to serve.

Let cool completely to refrigerate. Enjoy!

Butternut Squash, Hazelnut and Sage Mousse

A savory dessert or appetizer.

After a series of acorn squashes, we started receiving butternut squashes from our CSA. Having a great deal of fresh sage on hand and some hazelnuts, I decided to make a butternut squash mousse combining these ingredients.  The result turned out to be delicious and complimentary flavors and just as perfect for a savory dessert or an appetizer.

For those of you who are not keen on sweet desserts, try making this in small molds, even muffin molds, and serve warm at the end of a meal.

20131201-093852.jpgAs a mousse, and not a soufflé, this dish does not rise much.  So it is easy to unmold and serve on a platter or individual plates for smaller versions.

20131201-093959.jpgIngredients:
1 butternut squash (about 2.2 oz)
1 large shallot (about 3 oz)
3 oz hazelnuts
1/4 oz fresh sage
3 organic brown eggs
1 Tbsp. olive oil
1 Tbsp. butter to brush the baking mold(s)
Freshly ground sea salt and pepper

Preheat oven to 400 F.
Bake butternut squash in the same way as for the acorn squash in the Acorn Squash and Kale salad recipe, for about 45 minutes. Once soft to the touch, take out the squash of the oven, and set aside until cool enough to handle. Then, turn the oven temperature down to 350 F.

Set the butter out at room temperature so that it softens.

20131201-094429.jpgChop the shallot finely by slicing it horizontally, then vertically in perpendicular directions, while holding on to the roots.

20131201-094519.jpgHeat the olive oil in a skillet on medium high, add the shallots once the oil is hot and immediately turn down the heat to low. Let cook slowly till translucent.

20131201-094903.jpgMeanwhile, prepare the sage.  Remove the leafs from the stems.

20131201-095011.jpgChop the leaves finely and reserve a few whole leaves for decoration.

20131201-095217.jpgPlace the hazelnuts in a food processor fitted with a steel blade and process by pulsing.

20131201-095312.jpgKeep pulsing until roughly ground.

20131201-095621.jpgOnce the butter is softened, brush it on the bottom and sides of the baking dish.  It is important to use softened butter and not hasten the process by melting it because it will not adhere as well to the sides of the dish.

20131201-095724.jpgPlace about 2 Tbsps. of ground hazelnuts on the bottom of the dish and swirl it around so that the hazelnuts coat up to one third of the dish.

20131201-095822.jpgReserve another tablespoon of ground hazelnuts for decoration.

20131201-100045.jpgPour the remaining hazelnuts from the food processor bowl into the skillet where the shallots have become translucent. Mix well.

20131201-100136.jpgKeep cooking on low heat, turning occasionally, until the hazelnuts brown slightly to develop their nutty flavor. Season with salt and pepper.

20131201-100322.jpgMeanwhile, the butternut squash should be cool enough to handle.

20131201-100445.jpgPress it through a ricer into a bowl, or you might also purée it in a food processor if you prefer.

20131201-100555.jpgYou should obtain a smooth purée, with no lump.

20131201-100708.jpgAdd the sage and hazelnut/shallot mixture. Mix well.

20131201-101013.jpgSeparate the egg whites from the yolks.  Place the egg whites in a large bowl to whisk them.

20131201-101109.jpgIncorporate the egg yolks, one at a time, by mixing rapidly into the squash mixture (make sure it is cool so as to not cook the eggs).  Season with salt and pepper.

20131201-101331.jpgWhisk the egg whites with a pinch of salt until firm.

20131201-101426.jpgAdd one third of the egg whites to the squash mixture and mix thoroughly.  Then add the remaining egg whites and fold them in.

20131201-101532.jpgKeep folding the egg whites until you obtain a uniform airy mixture.

20131201-101652.jpgPour into the baking dish (or separate smaller dishes) and bake in the 350 F. oven for about 30-40 minutes depending on the size of the dishes you are using.

20131201-101741.jpgWhen the sides of the mousse come away from the dish, the mousse is ready.

20131201-101845.jpgUnmold it, decorate with ground hazelnuts and sage and enjoy immediately!

One last Chef of Provence

Wrapping up our visit, in the Papal city of Avignon, adjacent to the Palace, the restaurant of Master Chef Christian Etienne is a must if you are in the area. Please enjoy below a tomato menu…

20131005-121131.jpg Tomato juice as a palate opener.

20131005-121321.jpgTomato on a bed of tomato goat cheese.

20131005-125055.jpgGaspacho of green and yellow tomatoes.

20131005-121418.jpgTomato mousse in a rail of tomato cracker with tempura snail on tomato coulis.

20131005-125406.jpgMediterranean fish with tomato confit and eggplant caviar.

20131005-125528.jpgMediterranean fish with tomato risotto.

20131005-125630.jpgConversations with wine pairing from the sommelier.

20131005-125749.jpgChocolate cake, mousse, fondant.
20131005-132413.jpgRaspberry cake with fig.

20131005-130139.jpgTomato sherbet.

20131005-130240.jpg After dessert “Mignardises”: Macaroons, Caneles, Pates de Fruits.

Hoping you enjoyed this Provence Chefs series.  Next week we start autumn vegetables back in Chicago 🙂

Another Chef of Provence

Continuing our culinary sojourn brought us to Saint Rémy de Provence in Les Alpilles. At the heart of the village is an exquisitely classy and discrete restaurant: La Maison Jaune. Please enjoy the following creations from François Perraud.

20130928-214124.jpg Delicious ‘mise en bouche’ with herb and garlic olives, olive oil AOC from La Vallée des Baux, and…

20130928-214459.jpg Zucchini soup, quail egg with tomato confit.

20130928-214647.jpgPurple artichokes with goat cheese and herb vinaigrette.

20130928-215050.jpg Cantaloupe from Cavaillon with carrots and radishes accompanied by a vinaigrette with mustard from Meaux.

20130928-215526.jpg Marinated Red Label Scottish salmon with roe, capers, tomato and herbs.

20130928-215708.jpg Steamed fish with seasonal vegetables.

20130928-220608.jpgGoat cheese with fig bread and strawberry jam.

20130928-221538.jpgPineapple carpaccio with vanilla and herb served with ‘pain d’épice’.

20130928-221842.jpg Walnut and hazelnut tart served with fresh citrus and strawberry syrup.

20130928-222324.jpgKumquat, nougat and pate de fruit.
Trusting you enjoy the sharing of these images.